
Getting started:
- Starting the program
- Opening a bipartite network file
- Bipartite network file format
- Node info file format
- Explaining the GUI
- Network of communities
- Documentation
Starting the program:
- Download BCFinder for your operating system
- Make sure Java v. 1.5 or later is installed: Windows, Linux or Mac OS
- Unpack the downloaded .zip file
- A directory called "BCFinder" is now located where you unzipped the .zip file This directory contains various files, including a "run.command" or "run.bat" file depending what OS you are running
- To start BCFinder double-click the "run" file
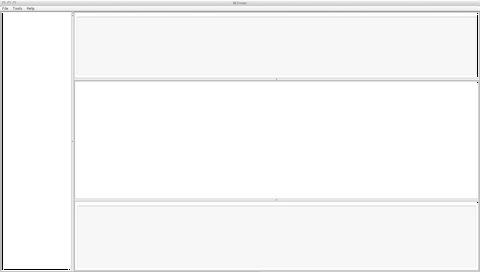
- You should now see something like this on your screen:
Top
Opening a bipartite file:
- Click on the "Files" menu and choose "Open" or if you have already compiled your bipartite file to create the .bi and .sz file using LCM, choose "Open (LCM already done)" to avoid the long waiting time if it is a large network
- A popup window is displayed on the screen where you can choose your bipartite network file
- Make sure your file has the following format:
<id0 type A> <id0 type B>
<id1 type A> <id1 type B>
<id2 type A> <id2 type B>
<id3 type A> <id3 type B>
...
- Each line is a link between a vertex of type A and a vertex of type B in the network. The first ID on each line must always be of type A followed by a whitespace character (space or tab for example) and the second ID must refer yo a node of type B
- IDs must be non-negative but there is no need of a specific order of the IDs within the file
- The program distinguishes between IDs of type A and B, so it is totally valid for an ID of type A to have the same value as an ID of type B
- There must be no extra text besides from what is described above or else the program will complain
- The file can have any kind of extension as long as it follows the format
- Once you have chosen your bipartite network file, you will be asked if you want to specify "Node Info files"
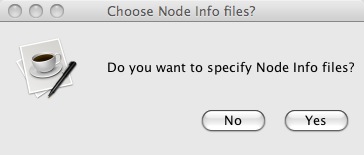
- Node Info files is a way to label each vertex in the bipartite network
- You can also assign a specific shape to each vertex (triangle or square, default is circle) and a specific colour (default is red for type A and blue for type B)
- You need to have a node info file for both type A and type B vertices
- The node info files have to follow the following format:
<id1> <label1> <r1>_<g1>_<b1> <shape1>
<id2> <label2> <r2>_<g2>_<b2> <shape2>
<id3> <label3> <r3>_<g3>_<b3> <shape3>
<id4> <label4> <r4>_<g4>_<b4> <shape4>
...
- The R,G,B values ranges from 0 to 255 and to assign a shape you simply just write "TRIANGLE" or "SQUARE"
- It is optional to include the colour and shape part of the node info files
- If you click 'Yes' to specify node info files you will see a popup window for each info file (type A and B) where you must choose the node info files to use
- Once that is done you will have to specify lower and upper threshold for "a" and "b"
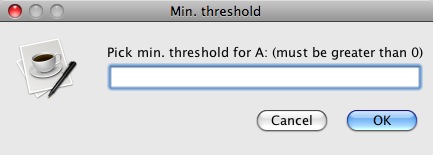
- What this means is that you need to choose the minimum and maximum k=a,b for the communities created for this network
- For example, if you choose min. a=4, min. b=3, max. a=10 and max. b=7, then k=2,4 , k=5,2 , k=11,5 and k=8,8 communities will not be included in the community visualisation
- You have to pick the lower threshold (a=1 and b=1 will include everything)but you can set either max. a or b or both to -1 to no upper threshold set
- After you have picked your thresholds, a progress bar will appear to indicate when the compilation is finished
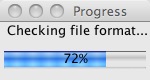
- Depending on how big the network is and how quick your computer is, it might take a bit of time to complete the compilation (Time for a cup of coffee!!)
- If everything goes well you should see something like this:
- Your files are cached so next time you open the same network it will be much quicker at loading the communities than the first time
Top
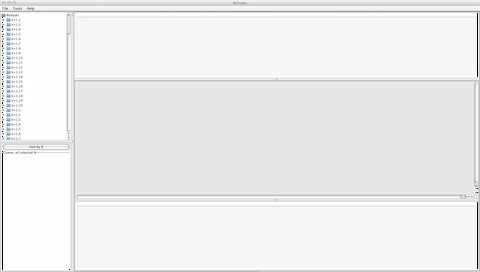
Explaining the GUI:
- When you have successfully loaded a network, you can select a specific community to have a closer look at it
- This is done by expanding one of the folders in the tree menu (1)
- The tree menu is ordered such that all k=a,b communities is located in the folder named "k=a,b"
- The communities under each folder is sorted in the way that the community containing the most nodes will be listed first and so forth
- After you have selected a specific community the network of maximal bicliques will show up in the middle area (2)
- The initial layout of the network is as you can see above: all the nodes of type A are aligned at the top and all the nodes of type B are aligned at the bottom
- You can of course if you feel like it move the nodes around as you want to, use just need to click and drag a specific node
- You can also select multiple nodes by click and dragging a select box the wanted nodes
- If you want to move all nodes you can change into TRANSFORMING mode by right-clicking anywhere in the middle area and choosing that mode from the popup menu
- As you can see there are two areas (3) and (4) on the screen
- The first column in (3) contain the labels of the type A nodes in the network, the middle column contain all the links and the last column lists all the maximal bicliques in the network
- (4) contain the same information as (3) except that the first column contain the labels of type B nodes
- If you select any of the items from the lists from either (3) or (4) they automatically be selected in the graph
Top
- Network of communities:
- You can bring up a network of communities for a fixed k=a,b by selecting one of the "k=a,b" folders in the tree menu, after the selection go to the "Tools" menu at the top and select "Community Network"
- If you did this correct you will see a window like this one:
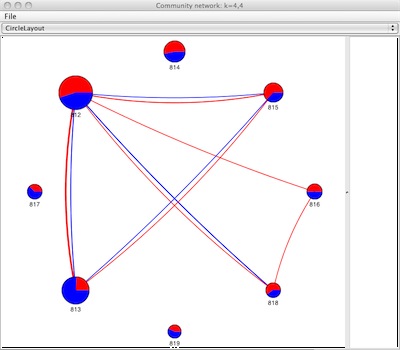
- You can change the layout of the nodes by picking one from the drop down menu at the top of the window
- You can also save the network as an .eps file by choosing "Save as eps..." from the "File" menu
- If you click on any of the nodes in the network the coresponding community will show up in the main window and to the right you can see a list of all the nodes participating in this community
- The pie chart inside each node inform you of the percentage of how many nodes of type A and B the community consists of
- The size of the nodes is proportional to how many nodes that participate in the community
- The thickness of the edges is proportional to the overlap of either type A or B between two communities
- To get the actual numbers for node overlaps and participating nodes you can mouse-over the edges and nodes
Top
